Thinking about giving your home a serious upgrade? Is your home’s exterior looking tired or outdated? A new siding installation does more than just freshen up the exterior — it boosts your property value, improves energy efficiency, and protects your home from the elements for decades to come.
At Nu-Face Home Improvements, we specialize in professional siding installation for residential homes throughout Connecticut and Massachusetts, offering premium materials and expert craftsmanship. Whether you’re ready to start your project or just exploring your options, this guide breaks down everything you need to know — from the process and receiving a free, no-obligation quote from us.
How Long Does a Siding Installation Take?
If you’re wondering how long siding installation will take, the truth is: it depends. Unfortunately, there’s no one-size-fits-all answer when it comes to siding installation timelines. Several important factors determine how long the process will take for your home.
What Affects the Timeline?
Size and layout of your home – Larger homes or ones with complex features require more time.
Weather conditions – We work safely and with quality in mind, which means weather delays may happen during storms, snow, or excessive heat.
Underlying conditions – If we uncover water damage or rotted sheathing, this can prolong installation timelines.
To ensure your project runs smoothly, we prioritize detailed planning, expert project management, and open communication throughout every phase. For a more accurate timeline tailored to your property, we recommend requesting a personalized quote and consultation with our team.
Siding Installation Process: Step-by-Step Breakdown
While timelines vary, here’s how a standard siding project with Nu-Face home Improvements usually progresses:
Step 1 – Initial Consultation & Material Selection
Your siding project begins after you submit a quote request — that’s when we step in to guide you through every detail. Once we receive your request, our team promptly reaches out to schedule a consultation and an initial visit.
During this initial visit, one of our experienced siding specialists will:
- Evaluate the condition of your existing siding and underlying structure
- Discuss your goals, aesthetic preferences, and budget
- Recommend the best siding options to match your home’s style and energy efficiency needs
- Walk you through color choices, textures, and finishes
We take time to explain the nuances of each siding material, answer your questions, and provide expert guidance — so you feel confident about your decision.
We offer a curated selection of high-performance siding options:
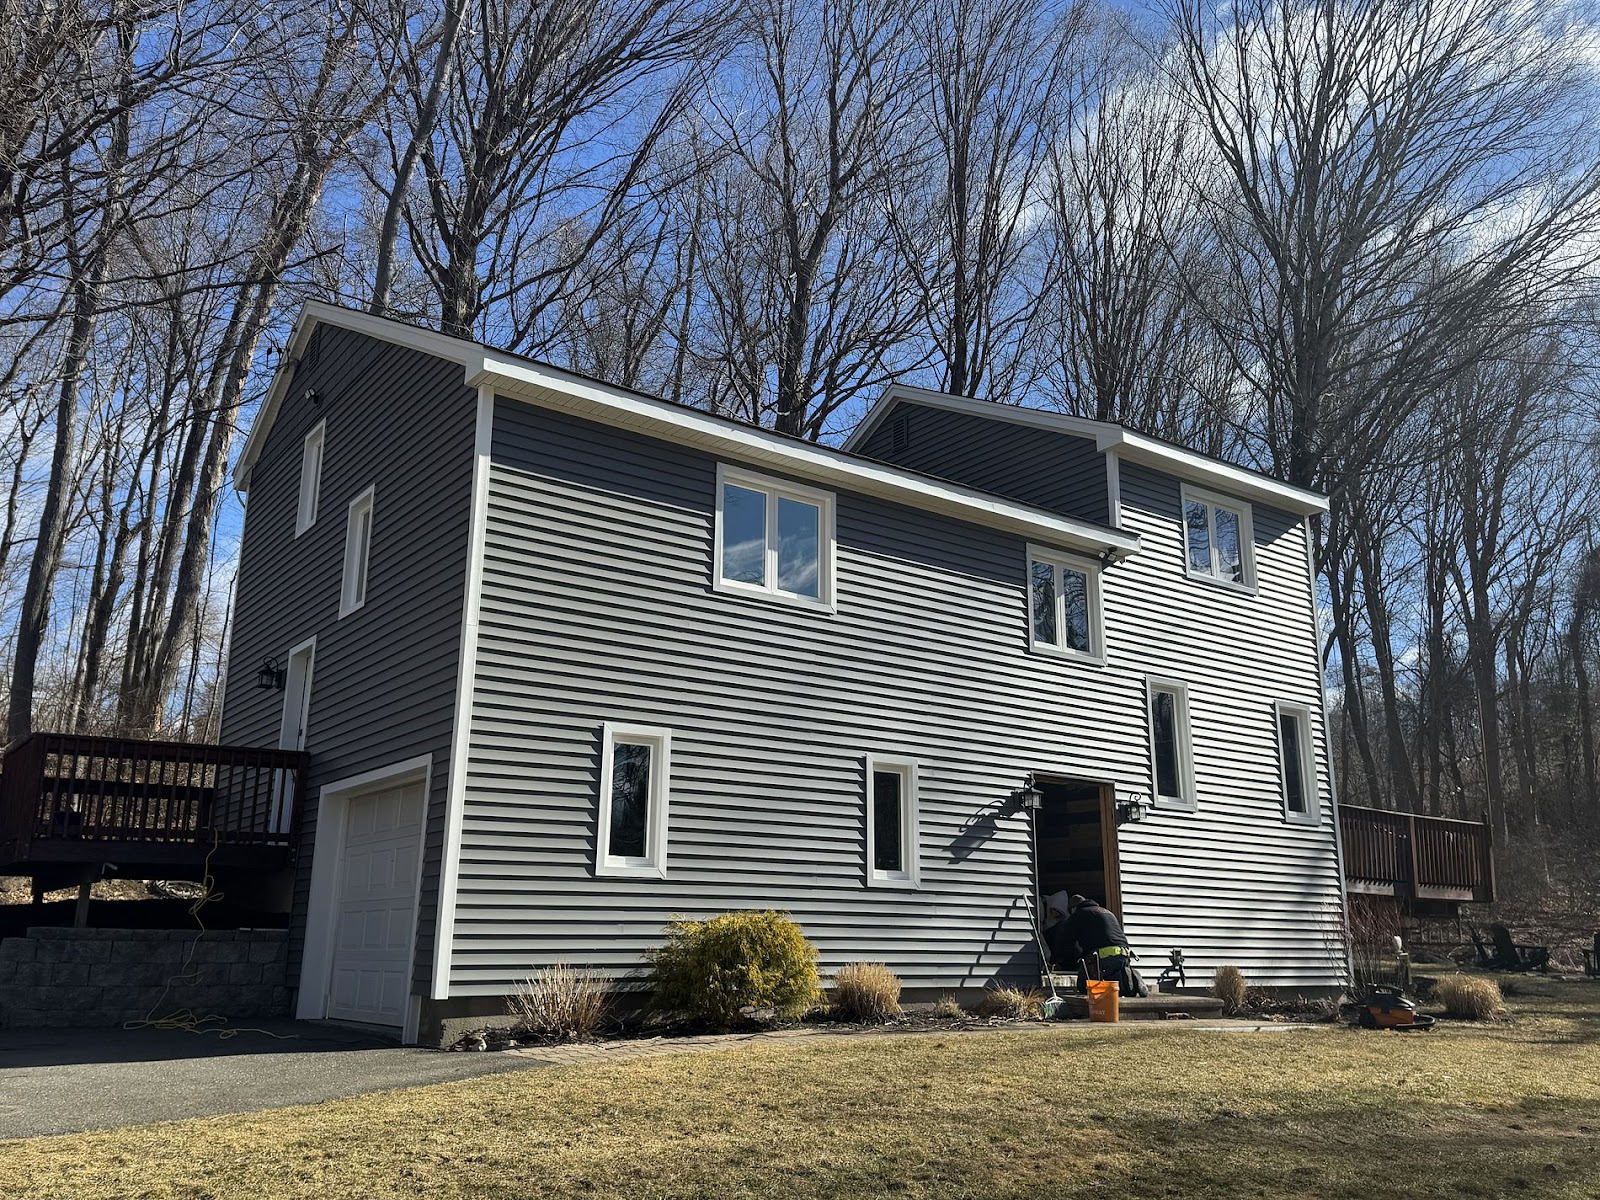
- Vinyl Siding – Classic, cost-effective, and easy to maintain. A great choice for homeowners seeking durability and versatility without breaking the bank.
- Insulated Vinyl Siding – Built with a thermal barrier to enhance energy efficiency, reduce outside noise, and keep your home more comfortable year-round.
- Composite Siding – Extremely durable and engineered to resist warping, moisture, and impact. Ideal for homes in areas with variable weather.
- Alside® Specialty Siding – Beautiful accents like shakes, scallops, and vertical panels that add character and elevate curb appeal.
No matter which material you choose, our team ensures it’s installed with precision and built to last.
Step 2 – Pre-Installation Home Inspection
Before we lift a single panel, we perform a thorough inspection of your home’s exterior walls. This crucial step helps us identify:
- Any hidden damage like rot or moisture infiltration
- Structural weak spots that need reinforcement
- Areas that may require minor repairs before installation
We’ll walk you through our findings and recommend solutions that keep your home protected. By addressing these issues upfront, we make sure your new siding has a strong, stable foundation — and give you peace of mind that no problems are left behind.
Step 3 – Removing Old Siding & Prepping the Surface
Next, we carefully remove your old siding, section by section. Our team works with care to avoid damaging underlying structures and maintain a clean jobsite.

Once removed, we:
- Inspect and prepare the sheathing beneath for a proper fit
- Install a weather-resistant barrier to improve insulation and defend against moisture, wind, and pests
- Prep trim areas, windows, and corners to ensure every edge is tight and seamless
This phase sets the stage for long-lasting siding performance — and helps reduce drafts, leaks, and energy loss.
Step 4 – Installing New Siding with Precision
Our certified siding installers measure, cut, and align every panel with expert accuracy to ensure a flawless finish. Whether it’s standard vinyl, insulated siding, or decorative Alside® accents, every detail matters.
During this phase, our project manager keeps you updated daily, answers questions, and ensures the work stays on schedule and on budget.
Step 5 – Finishing Touches & Final Sealing
With the siding installed, we turn our attention to the finishing details that truly complete your home’s transformation. This includes:
- Installing trim, soffits, and fascia for a clean, polished look
- Sealing all joints and corners to ensure long-term protection from moisture and drafts
- Conducting a full quality inspection to guarantee top-tier workmanship
We’ll walk through the finished project with you, clean the site thoroughly, and leave you with care instructions and warranty info — so you know exactly how to maintain your new siding.
Your home will look beautiful and be better protected for years to come.
How to Prepare for a Siding Project
We take care of just about everything during your siding installation — from setup to cleanup — but a little preparation on your end can go a long way toward keeping the process smooth and stress-free.
Here are a few simple steps you can take to help things run even more efficiently:
- Clear the work area – Move patio furniture, grills, and any decorative items away from the siding so our crew can move safely and work efficiently.
- Trim back trees and shrubs – Overgrown landscaping near your home can slow down installation or obstruct access.
- Secure items inside your home – Vibrations from our tools may cause picture frames, wall shelves, or hanging décor to shift. We recommend removing fragile items from nearby walls.
- Communicate special instructions – Let us know about any pets, gate locks, power outlet access, or any other logistics that might help our crew plan accordingly.
Even just a few of these small actions can help speed up the job, protect your belongings, and give you greater peace of mind during the project.
What Happens After Siding?
Once installation is complete, we’re not done until everything meets our standards — and yours.
Here’s what happens next:
- Comprehensive cleanup – We remove all debris, leftover materials, and tools from your property.
- Final walkthrough – We inspect the siding with you and answer any final questions.
- Warranty & Care Info – We explain how to care for your new siding and provide warranty documents.
Request a No-Obligation Siding Quote Now!
If you’re ready to boost your home’s exterior with beautiful, durable siding — we’re ready to help.
At Nu-Face Home Improvements, we provide professional siding installation for homeowners throughout Connecticut and Massachusetts, with a reputation built on quality, honesty, and outstanding service.